The kitchen is often considered the heart of the home, where culinary creativity meets daily life. As homeowners seek ways to enhance their living spaces, the kitchen needs to be more noticed. In this blog, we will explore the transformative power of a stylish kitchen splashback and how it can elevate your kitchen’s aesthetic appeal and functionality.
The Rise of Glass Splashbacks
1. History and Evolution
Glass splashbacks have gained popularity recently, but their roots can be traced back to the mid-20th century. We’ll delve into the history of glass splashbacks and how they have evolved into a modern kitchen design essential.
2. Advantages of Glass Splashbacks
Explore the various benefits of glass splashbacks, from easy maintenance and durability to their ability to create a sense of spaciousness and light in the kitchen. We’ll also discuss how they contribute to a hygienic cooking environment.
Design Options and Customization
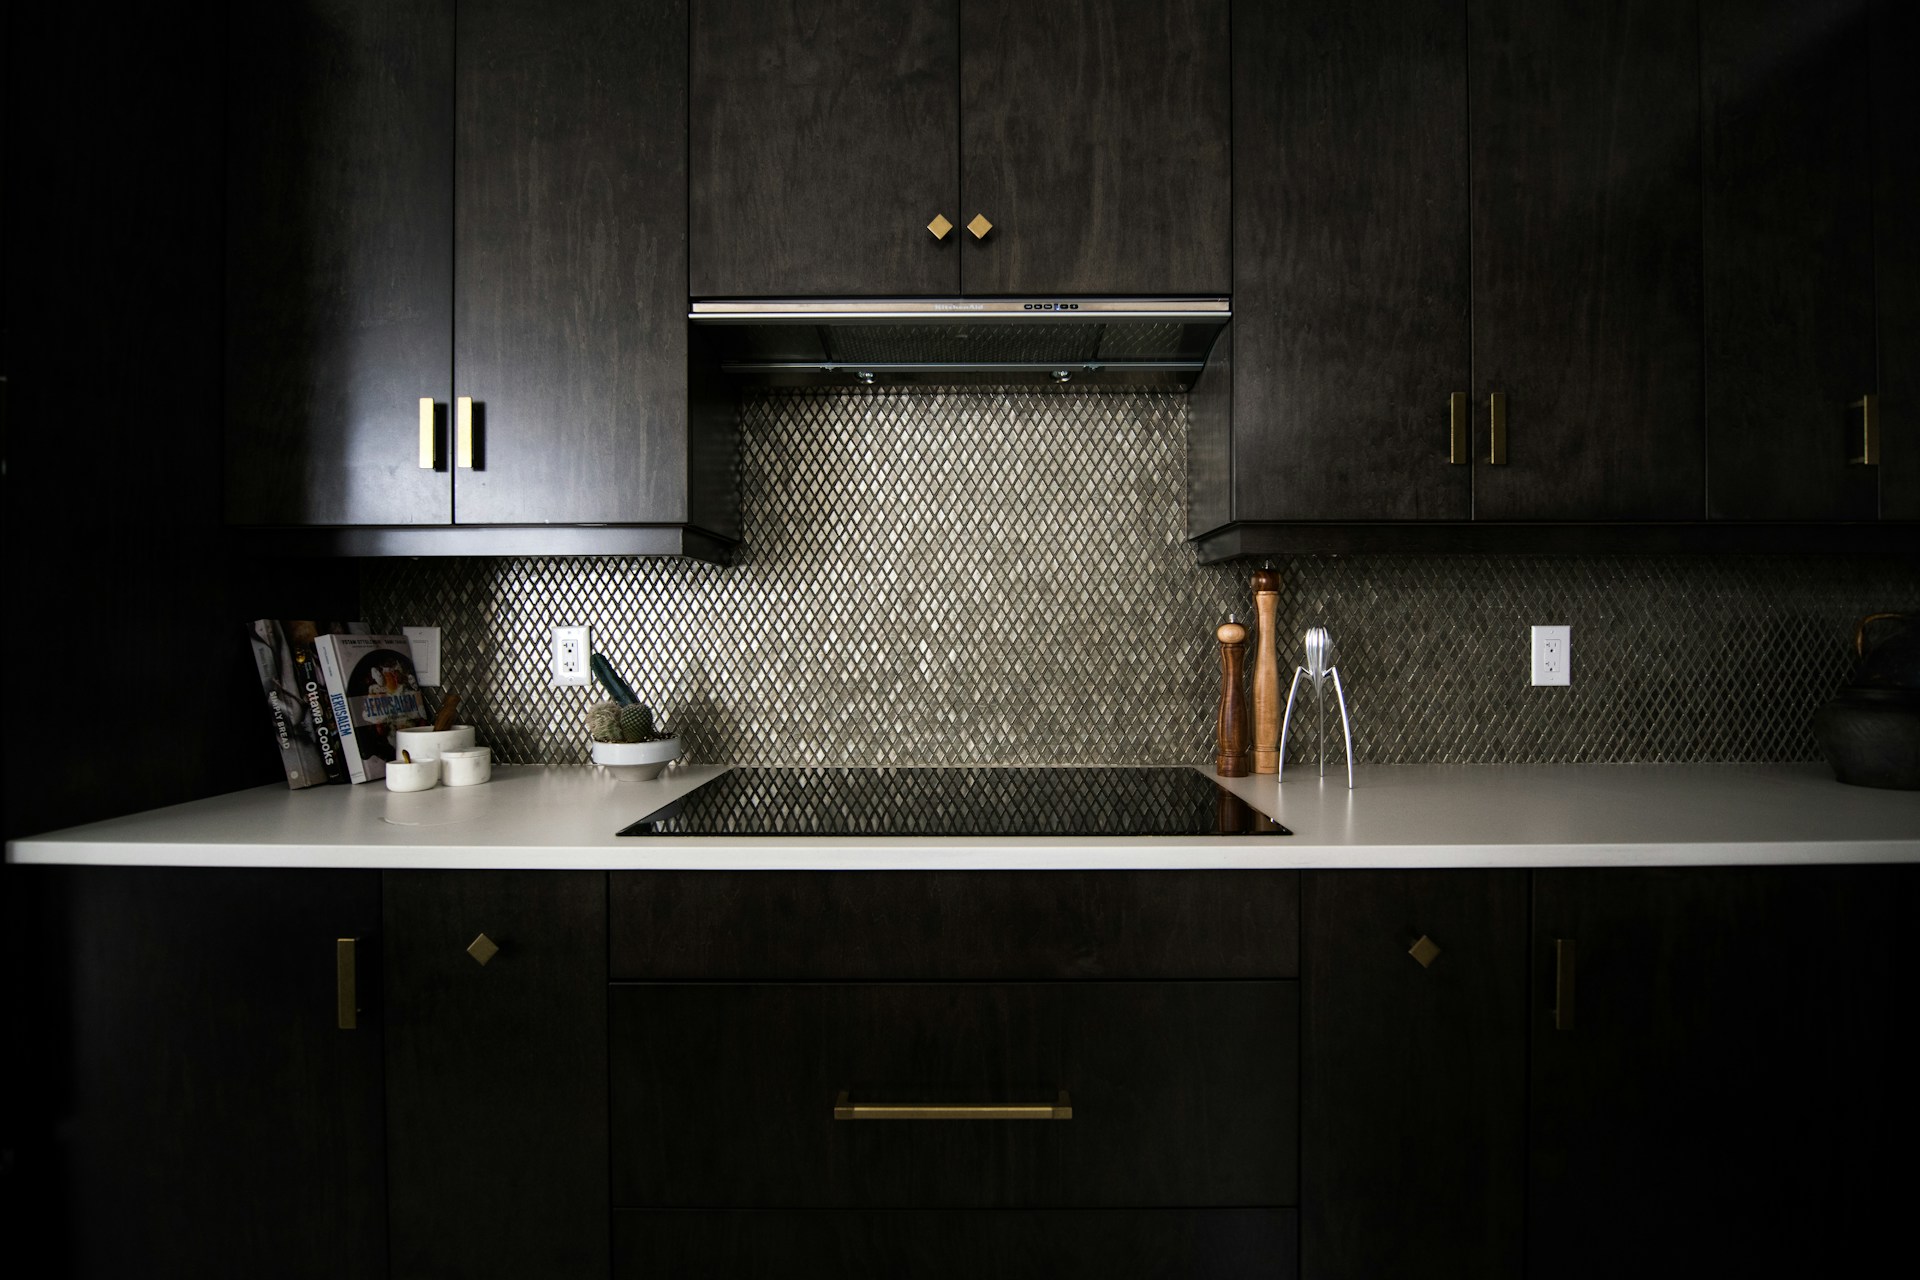
1. Colours and Finishes
Discover the vast array of colors and finishes available for glass splashbacks, allowing homeowners to personalize their kitchen spaces. From vibrant hues to subtle tones, the possibilities are endless.
2. Printed and Textured Glass
Explore the world of printed and textured glass splashbacks, where artistic designs and patterns can be incorporated to add a unique touch to your kitchen. We’ll discuss how these options contribute to a personalized and visually appealing kitchen.
3. Customization and Bespoke Designs
For those seeking a truly one-of-a-kind kitchen design, delve into customization. Learn how glass splashbacks can be tailored to fit specific dimensions and feature bespoke designs, turning your kitchen into a work of art.
Installation and Maintenance
1. Installation Process
Understand the step-by-step process of installing a glass splashback in your kitchen. From measuring and templating to the final installation, we’ll guide you through what to expect during the transformation process.
2. Maintenance Tips
Glass splashbacks are known for easy maintenance, but proper care is essential to ensure longevity. Discover practical tips for cleaning and maintaining your glass splashback, keeping it pristine for years.
Cost Considerations and Return on Investment
1. Budgeting for a Glass Splashback
Examine the cost factors associated with installing a glass splashback and how to budget accordingly. We’ll provide insights into different pricing considerations based on materials, customization, and installation requirements.
2. Return on Investment
Explore how a stylish glass splashback can contribute to the overall value of your home. We’ll discuss the potential return on investment, both aesthetically and financially, making it a worthwhile addition to your kitchen.
Conclusion
Summarize the key points discussed in the blog, emphasizing the transformative impact of a stylish glass splashback on your kitchen. Conclude by encouraging readers to consider this contemporary design element for an elevated and functional culinary space.
Fitting a glass splashback requires precision and attention to detail to ensure a seamless installation. Here’s a concise guide to fitting a glass splashback in your kitchen.
- Prepare the Surface: Ensure the wall surface where the splashback will be installed is clean, dry, and free from debris or grease. Smooth out any irregularities or bumps that could affect the fitting.
- Measurements and Cutting: Accurate measurements are crucial—measure where the splashback will go and transfer these measurements to the glass. Use safety equipment such as gloves and goggles, then cut the glass according to the measured dimensions. Consider hiring a professional glass cutter if you’re uncertain about cutting the glass yourself.
- Adhesive Application: Apply an appropriate adhesive recommended for glass splashbacks onto the back of the glass. Follow the manufacturer’s instructions regarding the application method and coverage. Apply the adhesive evenly to ensure a secure bond.